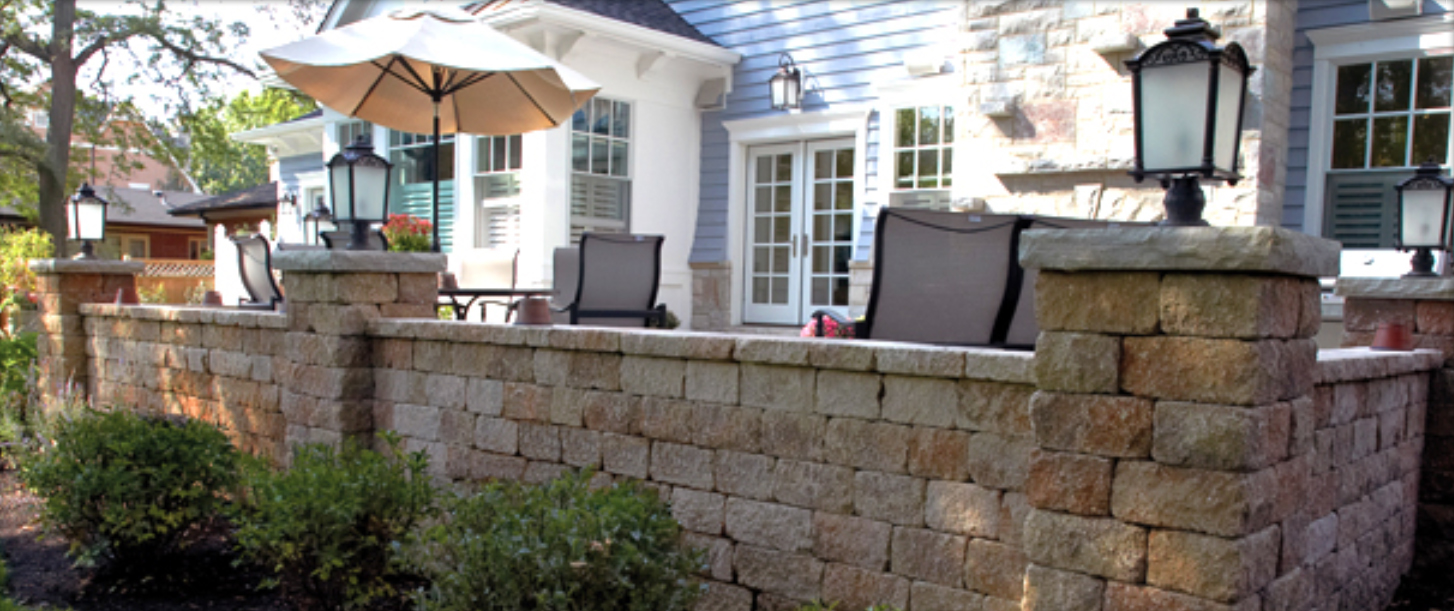
Retaining Wall Installation
Retaining wall installation has to start from the bottom. Base preparation is the most vital part of the wall installation process. Begin laying out the trench with a string line. Dig a trench 6″ to 12″ deep and about 4″ wider than the width of the style of blocks you intend to use. If your property slopes, step the trench up or down, allowing for at least half the height of a block to be buried. This saves time and material. Compact the trench and fill it with 3″ to 6″ of gravel (see “Base Thickness Chart” below). Rake out, level, and compact the gravel.
Laying the First Row
Some retaining wall products must be split. Use a 3-lb. mallet and a 3″ – 4″ chisel to split blocks along the center groove. This gives each unit the natural split face appearance. If your design has a corner, start by using a corner unit. Place each unit directly on the compacted gravel base to begin the wall installation, leveling each one with a carpenter’s level. Take your time and do this properly.
Laying Additional Rows
Sweep debris off the top of the first row and place your first block, starting at a corner if you have one, offsetting it by half a block. This will ensure your joints will be staggered, which is necessary for proper stability of the wall. Cut a block in half to complete the beginning of the row. Continue in this fashion until you reach your previously determined height, backfilling every two rows.
Backfilling
Gravel is used behind the wall as backfill to allow for drainage. Be sure to backfill every two rows as you progress in height. A filter fabric material is used to separate the native soil from the gravel to ensure the gravel won’t become clogged and prevent proper drainage. Make sure you allow enough fabric to cover the final height of the wall. To ensure proper drainage behind the wall you should install a drainage pipe.
Coping
Coping units are used to finish off the top of the wall. They are glued in place with masonry adhesive. If your wall is curved you may have to cut the coping units to fit.
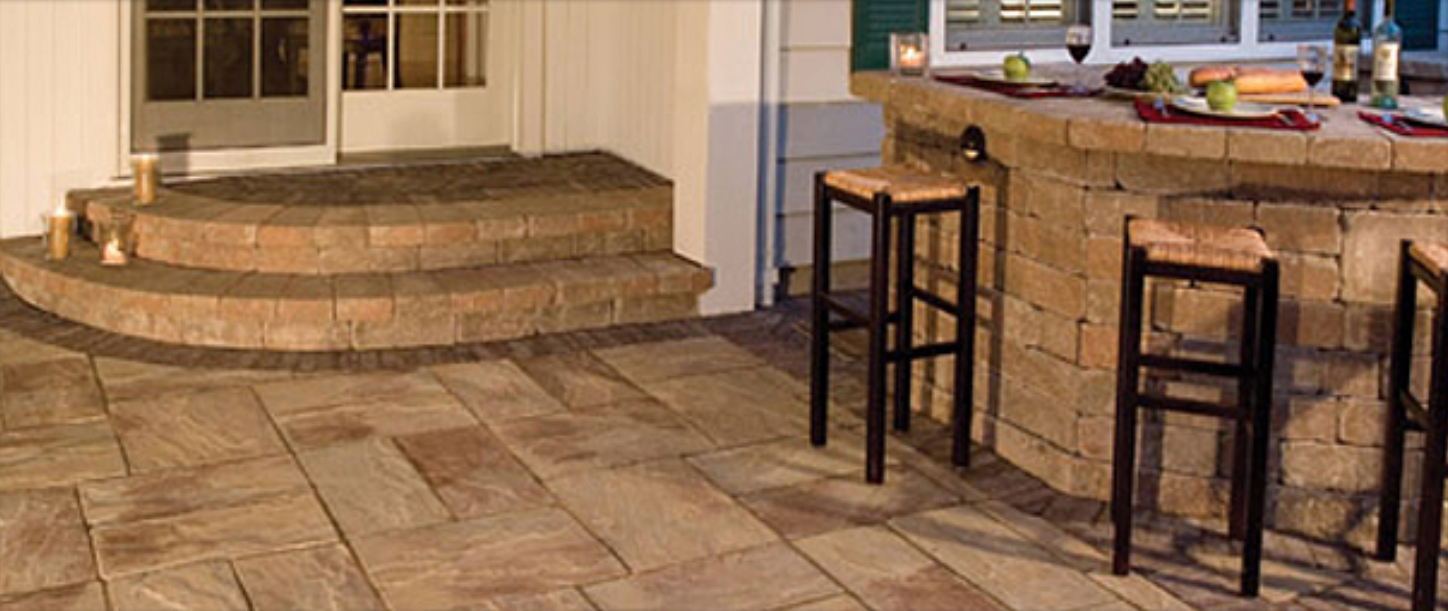
Steps
Step creation is similar to installing a retaining wall. The difference is, with steps you must compact the gravel behind each row (or riser). Place the first row of wall units directly on to the compacted base. Line up the area behind the row with the filter fabric, then fill with gravel and compact to the top of the blocks. Fit and glue the coping units (or treads). Place the next row of blocks directly behind the coping for your second tread and repeat these procedures for any additional steps required. One attractive option is to create a longer tread by installing pavers between the risers.
Raised Patio
To build a raised patio, follow the same procedure as for retaining walls. Backfill with gravel to within three inches of the top of the final height of the patio. This allows for a bed of screeded sand and the height of a paver.
Planters
The difference between constructing a planter and a raised patio is that you backfill and compact the gravel to within 6 inches of the top of the coping. Place a filter fabric over the gravel, then fill with topsoil for planting.